
Walkthrough
Blood Dungeon Walkthrough: Verified Progression Guide
Blood Dungeon Walkthrough: a verified run route from character choice and Blood upgrades to boss checkpoints, Bones, arenas, and clearly marked TBD steps.
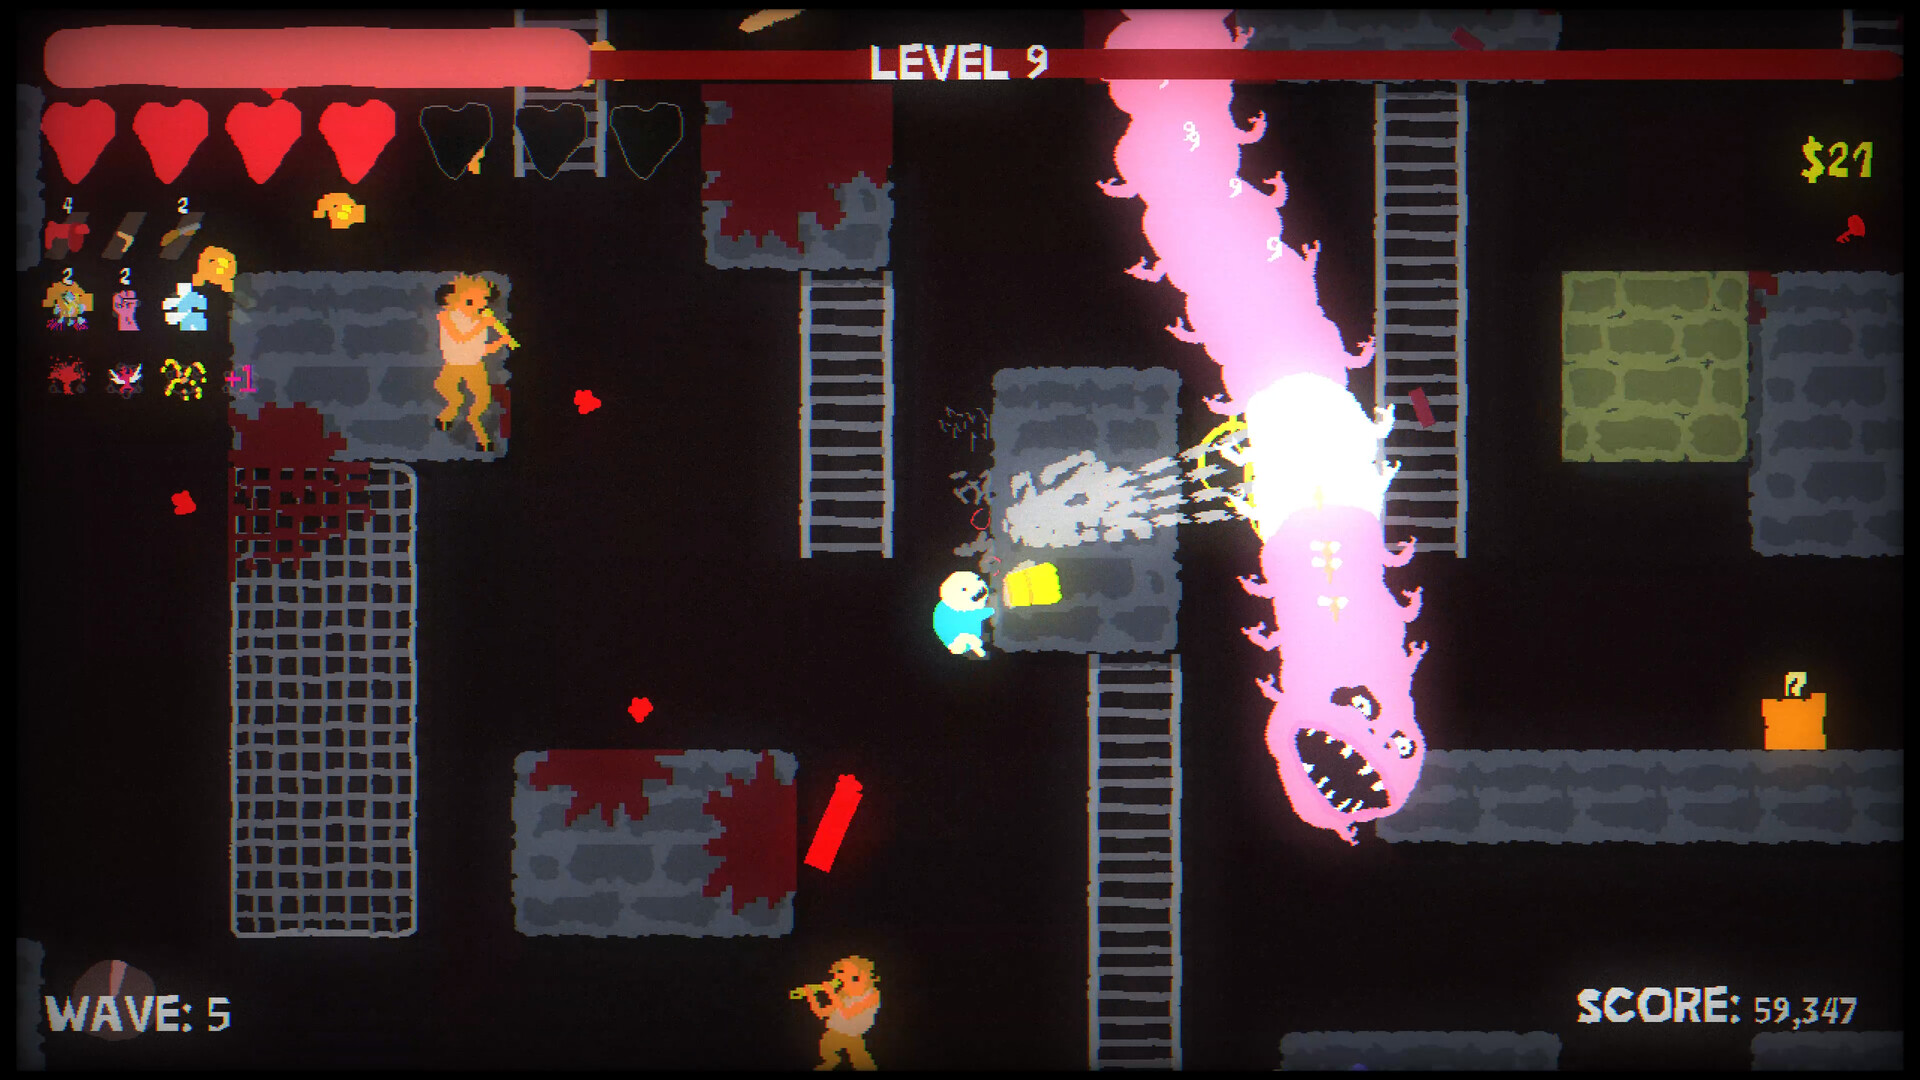
Official video
Video ID verified from the Messhof game page; playback is served by YouTube.
This walkthrough focuses on the confirmed progression loop. It does not invent stage-by-stage objectives that have not yet been checked in the release build.
The honest route begins with what the sources actually support: choose an available character, enter an arena, use automatic attacks while moving, collect Blood to improve the current build, and bring earned Bones into permanent progression. Steam achievement wording then provides a small number of explicit checkpoints. A complete map route, wave timer, and boss playbook are not public P0 facts, so they remain outside this walkthrough.
Before a Run
Choose an unlocked character and understand that character’s weapon and movement trait. Plan around what the character can do reliably rather than forcing a build that conflicts with the movement kit.
Official product copy confirms nine playable characters, but only Leggy, Bug, and Skinja are named there. The remaining names and their unlock conditions are TBD. Use the selected character as a way to observe your movement route, not as a reason to state an unverified best-starter recommendation.
During the Arena
- Keep moving through platforms, ladders, chains, walls, ceilings, and water.
- Defeat enemies and collect Blood to increase the current run’s power.
- Use chests and upgrade choices to strengthen a coherent build.
- Adapt when new enemy movement patterns remove a familiar escape route.
- Survive the arena rather than trading safety for every pickup.
This is a route skeleton, not a speedrun script. Chests are confirmed as a source of choices, yet their exact placement and selection rules are not fully established by the materials used here. Let a chest fit the route you can still exit, then record the choice and its effect rather than calling it mandatory from a single attempt.
After Survival
Take earned Bones into permanent progression. Complete quests to unlock upgrades, arenas, skins, and additional content. The game has nine playable characters and six survival arenas, so a complete walkthrough will eventually need verified unlock requirements and arena-by-arena notes.
Confirmed Arena Checkpoints
Steam’s achievement page distinguishes defeating the first boss in Catacombs from defeating the final boss in Catacombs. It also gives an arena progression chain through Catacombs, Pit, Corridor, Boiler, Tombs, and Flood. This supports a checkpoint-oriented route: first-boss progress and final clear should not be treated as the same event.
The achievement evidence does not provide a room-by-room route, a complete boss count for all arenas, a boss move list, or timing values. Those details remain TBD. This page will add them only with current build capture or an official source that can be cited alongside the relevant step.
Keep the Route Honest
After each run, separate an observed action from a verified fact. “I used this ladder loop and survived longer” is a personal test; “this is the required route” needs stronger evidence. That small distinction stops an early guide from hardening into a misleading walkthrough.
For the underlying resource explanation, read Blood Dungeon Mechanics Explained. For movement-first habits that do not pretend to be a universal build order, use Blood Dungeon Tips. This fan wiki will revise the pending card when new primary evidence makes a specific step safe to publish.
Before You Call a Run Complete
The achievement language is the best available guardrail for route writing. A first-boss achievement can mark progression to a next arena, while a final-boss achievement indicates a different checkpoint. Do not collapse those into a single “clear” instruction, especially when an older guide, demo clip, or forum post uses looser language.
At the end of an attempt, distinguish three outcomes in your note: an early exit, a first-boss checkpoint, and a final-boss clear where the achievement evidence makes that distinction visible. The exact return screen and reward display are still TBD, so no invisible confirmation animation is described here. That keeps a walkthrough useful even before every arena has an audited run capture.
A Repeatable First-Pass Plan
Start with one character you can already select, then choose a movement route that you can repeat. Let Blood and chest decisions serve that route rather than restarting the plan around every option. If the run ends, save one factual observation about the path and one unresolved question; that gives the next attempt a focused purpose.
Once a verified checkpoint appears, update only the part of your route that the new evidence affects. Do not infer the next arena’s room layout, enemy statistics, or boss mechanics from the checkpoint name alone. This makes the guide slower to overstate but faster to correct when official or direct release-build evidence arrives.