
Beginner Guide
Blood Dungeon Tips for Safer First Runs and Progression
Blood Dungeon tips for safer first runs: use movement routes, build Blood, spend Bones on permanent progression, and avoid unverified universal build claims.
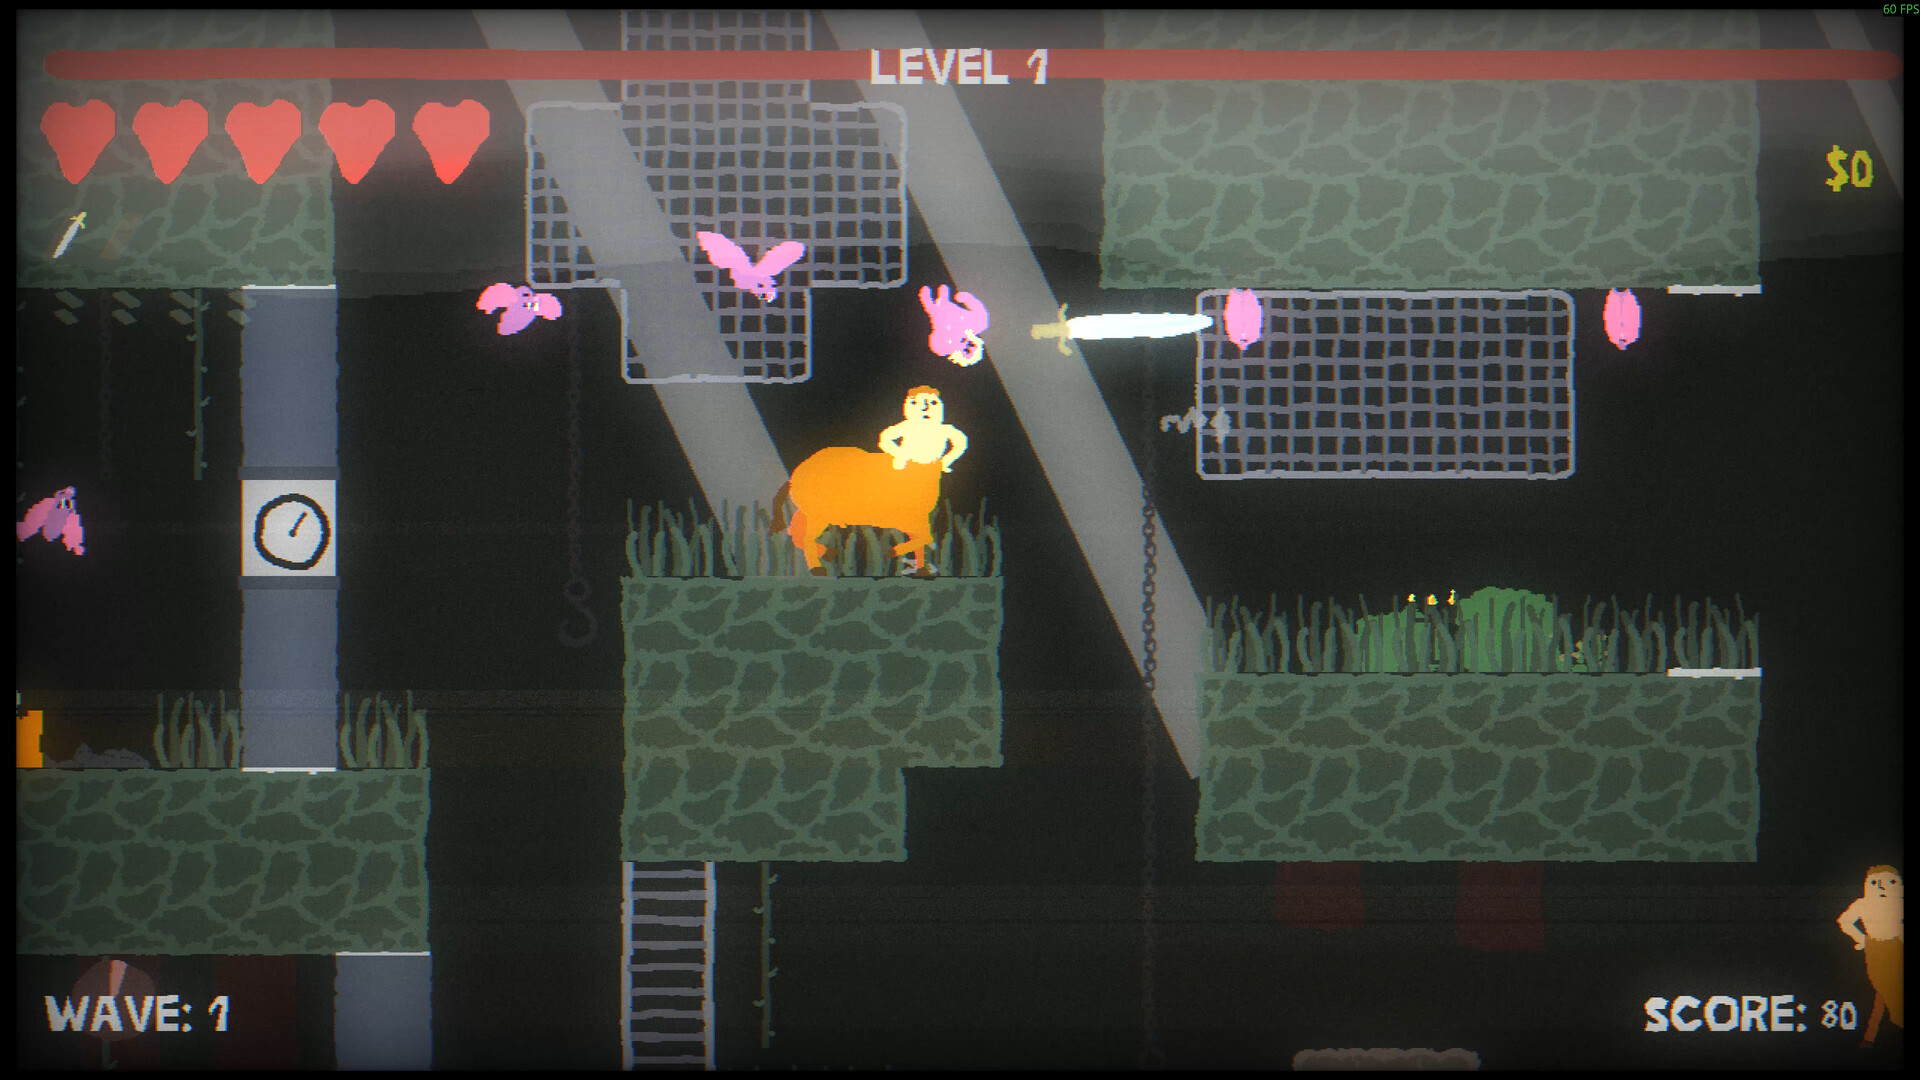
Official video
Video ID verified from the Messhof game page; playback is served by YouTube.
Blood Dungeon is built around movement: weapons attack automatically while you run, jump, and climb through dangerous arenas. The useful beginner rule is simple—protect a path before pursuing a pickup. That rule stays useful even when exact upgrade choices, enemy waves, and unlock conditions are still being verified.
Start With Movement
Messhof describes Blood Dungeon as a game about parkouring through treacherous dungeons, and Steam places automatic weapons alongside mobile survival. The player’s direct job is positioning, not manual aiming. A first run should begin with learning where you can move, not with forcing a damage plan that assumes the arena will stay quiet.
Use the confirmed movement spaces: running, jumping, ladders, chains, walls, ceilings, and water are all part of the official description. Practice a short loop that uses at least two elevations, then repeat it until each turn feels deliberate. A route you can repeat calmly is more useful than an escape that only works once.
A simple first-run drill
For the first few minutes, choose one side of the arena as a reset point and return there only when you still have room to leave it. This is not a claim about a hidden safe zone; it is a practice method for keeping attention on exits. When a route fails, identify the precise transition that failed—jump timing, a missed ladder, or a crowded landing—before changing anything else.
Read the Arena as Routes
The official description confirms that enemy types can fly through walls, walk, stick, or bounce on surfaces. Terrain is therefore not a permanent answer to every threat. A platform that separates one movement type may not separate another, so treat terrain as time and space to reposition rather than as a guarantee of safety.
Before you take a long climb, look for the next landing and the return route. The full enemy roster, individual damage, and spawn tables are still TBD. The aim is to avoid being surprised by losing the only route you knew how to use.
Try to keep one direction open while you travel. If the path above becomes crowded, use a lower transition before the crowd closes in; if the lower route becomes the risk, take the vertical connection earlier next time. This gives a beginner a repeatable decision rule without pretending that one path is optimal for every arena.
Build Blood Without Chasing Every Drop
Steam describes Blood as the resource that increases your Blood level and upgrades the current build. That is the confirmed purpose to work from. The official materials do not provide a published formula for level thresholds or state exactly what happens to every point of Blood after a failed run, so this guide does not invent either detail.
Collect Blood when it fits the route you already have. If a pickup lies beyond the point where you can still leave cleanly, treating it as optional is a sensible survival choice. This is a play habit, not a claim that any single drop is worthless; the practical priority is to stay in control long enough to make more choices.
Use a two-question check
Before crossing back for a pickup, ask whether you can return by a route already used and whether taking it will leave no exit from the landing space. If either answer is unclear, move first and reassess after the crowd shifts. The habit keeps a player from converting a small gain into a full loss of position.
Choose Upgrades by a Clear Job
The official store confirms more than 100 weapons and upgrades, so no short checklist can honestly represent the whole set. It also does not certify a best early build, best starter character, or universal upgrade order. Until current-build testing fills those gaps, judge an upgrade by the job it gives your present route rather than an unsupported tier list.
Give each selection a plain-language role: help hold space, help leave a crowded landing, or help make a route safer while damage works automatically. If a choice cannot be connected to one of those roles, do not assume it is wrong; simply avoid treating it as a guaranteed answer. The next run is a chance to test it under the same movement pattern.
Keep one change at a time when learning. Switching character, route, and upgrade idea in the same attempt makes it hard to tell what changed the outcome. The game has nine playable characters with different traits and weapons, but only Leggy, Bug, and Skinja are explicitly named in official product copy; the rest remain deliberately unlisted here.
Treat Chests as Decisions
Official descriptions state that hidden chests can add choices during a run. A chest is an opportunity, not a reason to abandon the movement plan that got you there. Approach it with an exit in mind, read the available decision, and then move before arena pressure turns the stop into a trap.
Do not write down a chest option as always take after one strong run. Randomness and the still-unverified details of individual upgrade behavior make that conclusion too broad. Record what you chose, which movement problem it was meant to solve, and whether the next part of the run became easier to navigate.
Turn Bones Into Long-Term Progress
Messhof’s official game page describes surviving a run, taking earned Bones to the Bone Shop, and becoming stronger. Steam separately confirms permanent upgrades. Together, those sources support a two-layer loop: temporary run power through Blood and longer-term progression through Bones.
The exact Bone Shop catalogue, prices, and best purchase order are not confirmed in the public materials used for this page. Do not mistake that absence for an empty system; it only means the details should be marked TBD rather than guessed. When you reach the shop, observe one item’s wording rather than relying on a remembered third-party list.
Make every failed run useful
After a difficult attempt, write down one movement problem and one progression question. For example, note that you lost the upper route after taking a chest, or that you need to check what a permanent upgrade changes. This turns a loss into a specific next test and prevents changing everything at once.
Keep a Useful Run Record
Blood Dungeon also advertises quests, daily dungeons, global high scores, six survival arenas, and more than 100 enemy types. Those systems give players many goals, but official sources do not provide a complete public route for every unlock. Keep personal observations separate from verified facts: an observation can guide your next run without becoming a site-wide conclusion.
Use a short format: character, route used, one upgrade job, point where the route broke, and one question for the next attempt. Avoid labels such as best, guaranteed, or required unless an official source or repeatable current-build test supports them. That discipline protects both your time and the accuracy of a living guide.
For confirmed system relationships, continue with Blood Dungeon Mechanics Explained. For a run-order view that separates official checkpoints from unresolved details, read the Blood Dungeon Walkthrough. This independent fan guide will update its TBD items only after an official source or direct release-build verification supports them.